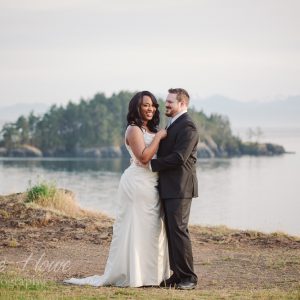
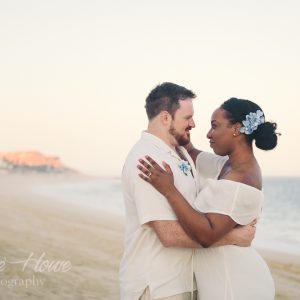
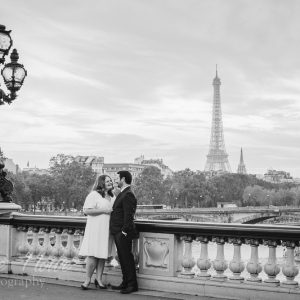
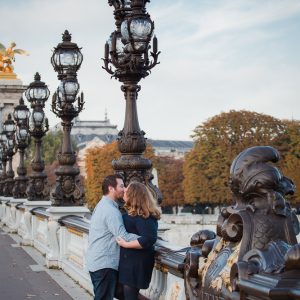
When I frame an image in my viewfinder, I know that my medium format camera has a 3:2 aspect ratio. This aspect ratio translates exactly to the popular printing dimensions of 4×6 inches. So, when I give the digital images to a client, I generally keep the original 3:2 aspect ratio even though I may crop something out. This gives the maximum area for each image, so that the least amount of the image is cropped out.
This concept can be confusing if you’re not used to dealing with it. I hope I’m explaining it well enough. If I’m not, these examples may help my fellow visual learners:
.jpg)
I usually allow for extra space around the edges when I’m framing my shot, so that nothing important will be cropped out if someone decides that they want an 8×10 of an image. While capturing a fast paced event like a wedding, sometimes it’s difficult to frame an image perfectly. If someone wants a 3:2 image cropped down to an 11×14 print, sometimes there’s not a lot to work with. In other words, not every image will look good at any aspect ratio. Here is an example of what you wouldn’t want to happen:
.jpg)
The original crop was a bit tight to begin with, but it had to be done to get rid of my fellow photographer’s flash popping into the shot. In my opinion, this shouldn’t be cropped anymore. If I cropped to 11×14, I’d still be cutting a lot of somebody off, and I think that would ruin the excitement of this image.
I try my best to give some extra room around the edges, but when someone or something pops into a great shot, there may be nothing you can do to save the photo besides cropping it out. This means that some images were fated only to be printed at 4×6, as much as it pains me to say. The good news is that custom print sizes are available, but they might be harder to mat and frame. I can do all of that for you of course. 😉
*Update: I found another good explanation of this concept by Joe Farace on PhotoFocus : http://photofocus.com/2011/06/02/full-frame-vs-full-image/


